Installing Sitecore 8.0 and MongoDB using Powershell
Installing Sitecore 8.0 and MongoDB using Powershell
This
quick guide demonstrates the fastest way to get up and running with Sitecore
8.0. It assumes you’ve never installed Sitecore 8 (or 7.5) before but have used
Sitecore 7.2 or earlier, i.e. you don’t have MongoDB installed and configured.
Prerequisites:
Ensure
you have the following applications installed:
- SQL Server 2014, SQL Server 2012, SQL Server 2008 R2 SP1, or SQL Express Editions of these databases installed
- IIS 8.5, IIS 8.0, IIS 7.5 or IIS 7.0 depending on which version of Windows you’re running.
- .NET Framework 4.5
Source: Sitecore
8 Installation Guide
Steps to install Sitecore 8
- Download this PowerShell script and execute it by right-clicking it and selecting Run with PowerShell. It’s a slightly modified version of the script found here, which automatically downloads MongoDB, installs it as a Windows Service and starts it – without any user intervention required at all. Don’t worry if you get a red error message at the top if you’re running it – it still works. While it’s downloading, it won’t show any progress indication. Depending on your internet connection, it will take 2-5 minutes to download, extract and configure MongoDB.
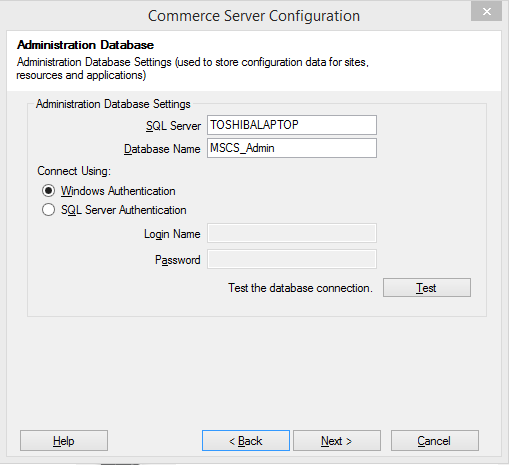
- Download the Sitecore Instance Manager (SIM). SIM is a key tool for managing the park of Sitecore instances. You can install, locate, maintain, reinstall or delete Sitecore products. When it has been configured, you can setup a new instance of any downloaded Sitecore version in 2 minutes with fewer than 10 clicks. Expand the zip file into a folder, e.g. “C:\SIM” and execute Sim.Tool.Exe. Follow the directions given by the tool in terms of giving it full access to a folder, specifying where your Sitecore license file exists, and what the login credentials are to your local SQL Server.
- Download the ZIP archive of the Sitecore site root for the latest version of Sitecore 8 using your Sitecore login. Save the .zip file in the repository folder specified in SIM.
- In SIM, select the icon Sites & Products and click Refresh Everything. This will make SIM pick-up the Sitecore zip file you just downloaded.
- In SIM, click Install Instance, and specify the site name you want, e.g. Sitecore8. Leave the remaining settings as they are. Click Next on the three next screens and finally click Install. SIM will then perform it’s magic, which includes expanding the zip file, copying in the license, setting up an IIS website, mounting databases in SQL Server and setting permissions where required. With an SSD drive, this takes less than 30 seconds for it to complete. When it’s done, select Open in Browser and then click Finish. This should open the initial Sitecore landing page. Then navigate to /sitecore and login with “admin” and “b” and you should have a fully working Sitecore admin interface. Notice that this won’t mount any MongoDB databases. Instead Sitecore automatically creates those when you use it the first time.
- As you’ve now loaded both / and /sitecore, a session has been created for the visit by Sitecore in MongoDB. Akshay Sura has written a good post on how to use Robomongo, which let’s you inspect and modify the JSON documents in MongoDB. Opening it, you should now notice the following databases, which verifies that the Sitecore to MongoDB connection is working successfully.
.

That’s
it. Leave it comment if any of this doesn’t work for you.
NOTE ::
The
above guide should have helped you setup Sitecore 8 quickly. However, you might
also want to consider the following tips before you commence using your new
environment:
- Change your sessions to use your MongoDB as the session database. While this is obviously not required on a development workstation, it’s good practice to ensure that your development workstation is as similar to the production environment as possible, where you’d most likely want to use the new MongoDB session provider across multiple delivery servers. This link describes the two steps involved in doing this very well.
- Setup a 2nd reporting database in SQL Server. Sitecore continuously update the original Reporting database in SQL Server. It starts as soon as you launch Sitecore and it keeps the reporting database up to date with the most recent interactions, so long as the xDB is running. However, for various reasons, well described here, the reporting database might get out of sync or need a total rebuild. To do this, you would go to /sitecore/admin/RebuildReportingDB.aspx, but when you attempt to start the rebuild, you’ll get the error message “Connection string used by aggregation/historyTaskManager/ReportingStorage” as shown below:

The
error message occurs as Sitecore actually requires that you have two reporting
databases, so that one can still be available for reporting, while the other is
rebuilding. To setup the secondary reporting database, stop the application
pool, detach the reporting db from SQL Server Management Studio, copy the .mdf
and .ldf files and rename the copied versions to .Secondary, attach the
original reporting database again, then attach the new one as well. Finally,
duplicate the name=”reporting” connection string to name=”reporting.secondary”
and point it towards the new database. Then start the application pool again.
If you go to /sitecore/admin/RebuildReportingDB.aspx, you should now be able to
rebuild the reporting database.
Sitecore
will automatically switch it’s reports over to using the secondary reporting
database after it has been rebuilt (and back again to the primary one if you
rebuild yet again).

Comments
Post a Comment